

This month is going to be my second year owning a Remarkable 2. Great device, I got convinced, became early adopter and since then it has been my companion in all meetings (which is kinda my daily life). Ask me if I'd recommend it to you, and I'd say that depends on how many notes do you take. It won't replace your tablet, but it will surely replace your notebook.
Just lately I started to look into the options for getting any kind of custom templates. I now tend to leave the sidebar open for quicker access to the drawing and navigation tools, and therefor my favourite Checklist template gets partly hidden below the buttons. Bad design, let's see if I can do anything here.
With a bit of research you find that you can actually design and generate your own templates, and that there are some companies that did that already for you and can sell you very beautiful templates. If you're short in time and long in money, this may be an option for you..
In my case, I'd love to put my hands below the surface of my Remarkable 2, so let's create a pair of templates. I assume here that you have a Remarkable connected to the same Wifi as your computer, and some knowledge on linux command line and image creating, for which here I'll use GIMP.
Steps overview
What we'll do here is the following:
- Gain SSH access to the Remarkable 2 device
- Retrieve the current templates, to get an idea of what's there and how is done
- Create our own Template
- Install our new template
- Wrapping up
Gain SSH access to your Remarkable 2
Your Remarkable has SSH enabled. You only need to get your credentials and log in. Still, there are a couple of extras we can do to easy our life in all this process, like changing to a key authentication access and remembering the device by a name and not by IP. They are optional steps but still explained here.
Get the credentials
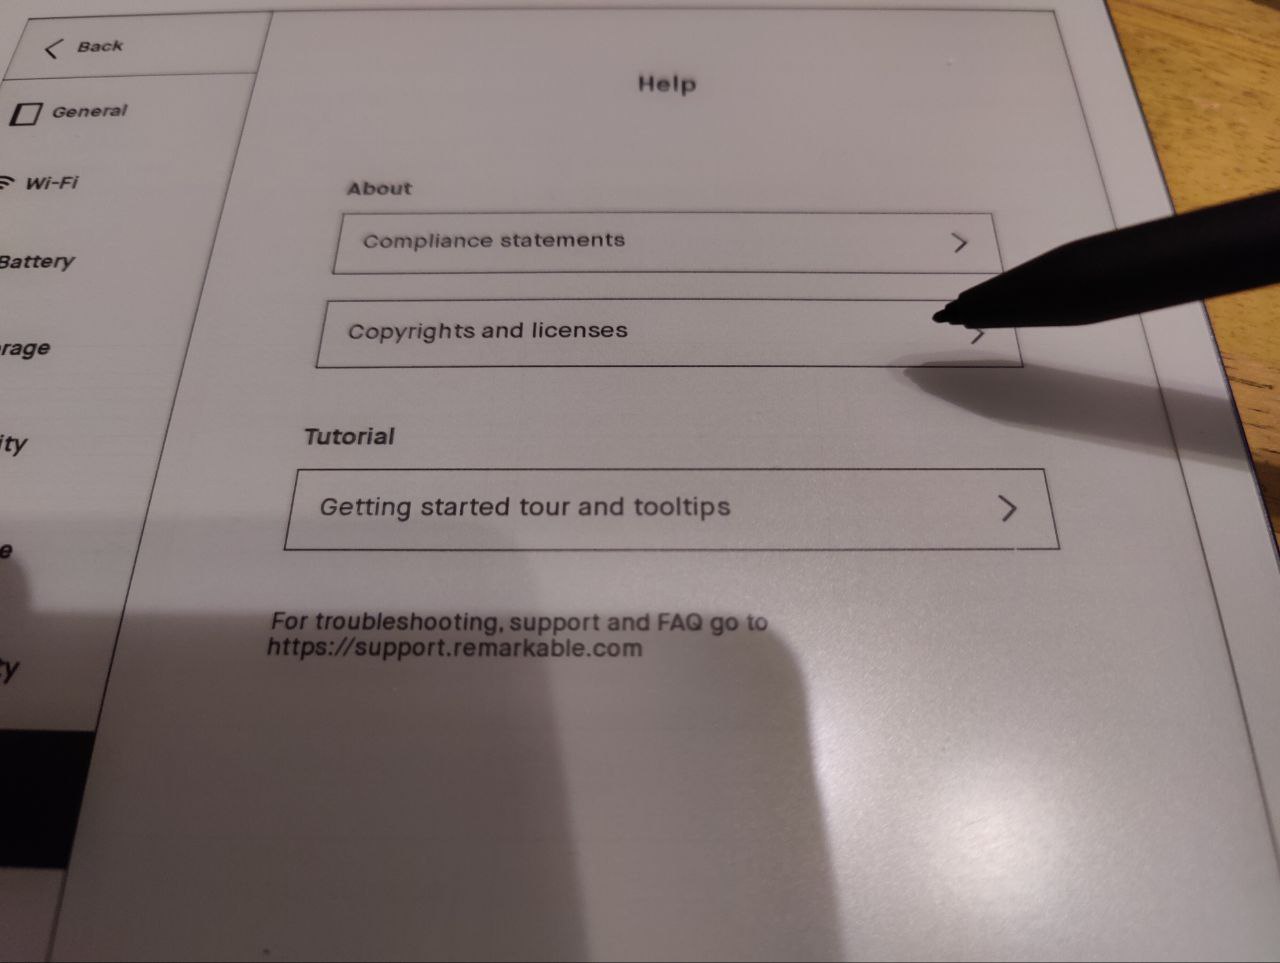
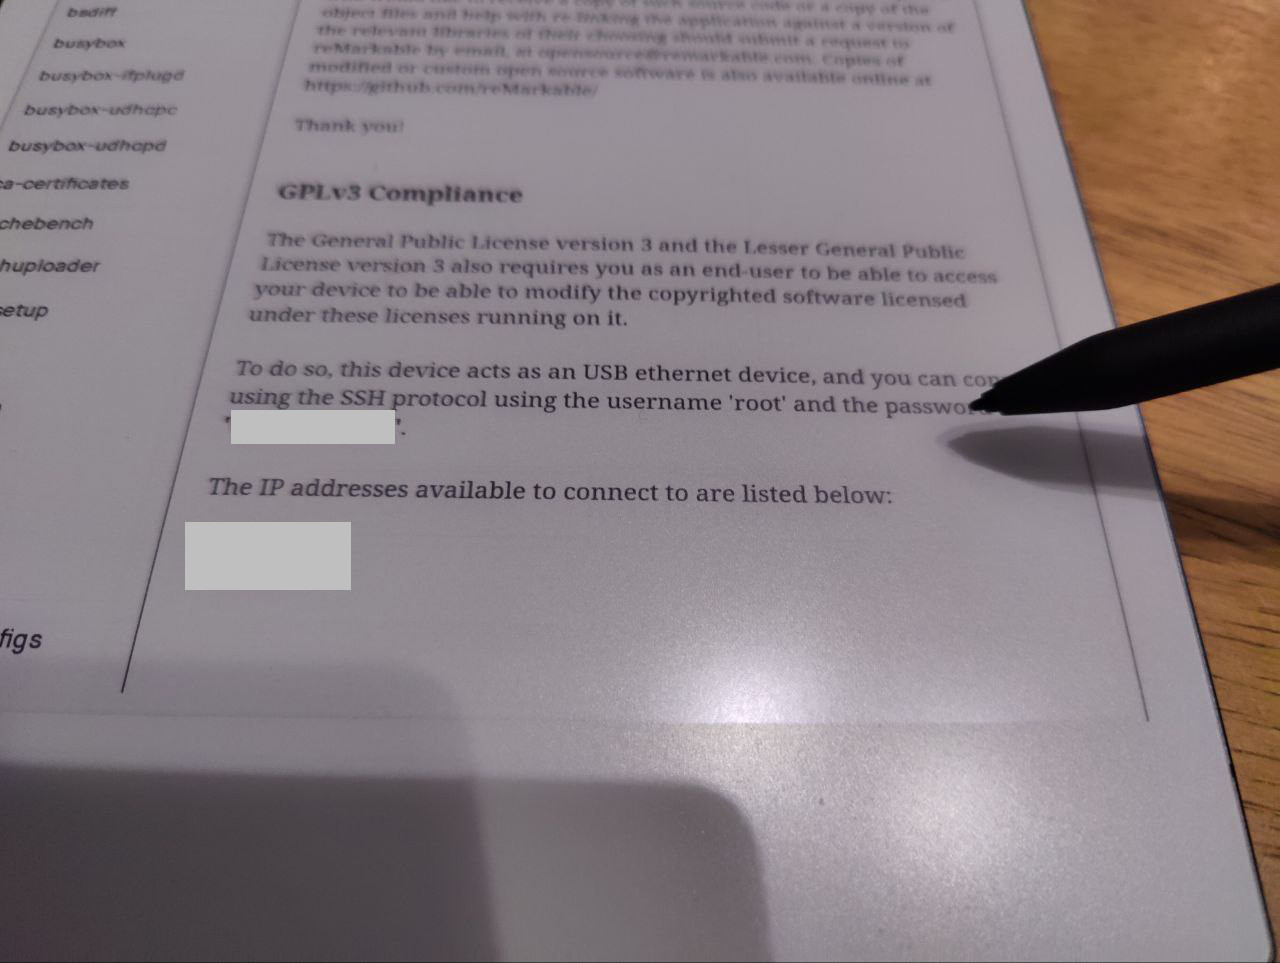
You simply go to Settings > Help > Copyrights and licenses and find your root password and the IP to connect below the GPL v3 Compliance. Let's assume my IP is 192.168.0.25.

Log into the Remarkable 2
Now just use the IP and the credentials to log in. It will ask you the password, and that's it.
$ root@192.168.0.25Use your SSH Key besides your password
Typing the password for every interaction is a PITA, so why don't we just set our computer as an authorized host for the Remarkable 2?
Do you already have a SSH Key in your computer?
Check in your ~/.ssh folder for a pair of files like id_xxx and id_xxx.pub, where xxx is the public key algorithm you may have, ie. id_rsa.pub for RSA. If you have a pair, keep in your head the name of the .pub file. If you don't have a pair then you need to create one with:
$ ssh-keygen -t ecdsa -b 521This will trigger some questions to you that you can answer by just pressing the ENTER key. Here I used ECDSA as a public key algorithm, you can use any that you prefer. Check the full process here. The outcome of this command is a pair of files in your ~/.ssh folder: id_ecdsa and id_ecdsa.pub.
If you had them or you just created them with the command above, tell your computer to show your public key and copy it to your clipboard. It is a text that starts with ssh-ecdsa and finishes with a mail or a hostname, like ssh-ecdsa abcdef1234567889abcdmnlkngsl2345234 xavi@arnaus
$ cat ~/.ssh/id_ecdsa.pub
ssh-ecdsa abcdef1234567889abcdmnlkngsl2345234 xavi@arnaus
Set the key in your Remarkable 2
So now you log in into your Remarkable 2 and add the key of your computer to the authorized hosts of the Remarkable
- Log in to the Remarkable, it will still ask for your password
$ ssh root@192.168.0.25 - Use your favorite editor to edit the authorized hosts file
$ nano ~/.ssh/authorized_hosts - Paste here the key you copied above, save and exit (With
nano, save and exit iscontrol + oandcontrol + x)
You're set. From now on you don't need to enter your password anymore when you connect from this computer.
Use a hostname for the Remarkable 2
Another improvement that we can do is to add the device in our hosts file, so we don't need to remember the IP. For this, in your computer:
- Edit the hosts file of your computer with sudo (as most likely your user won't have direct permissions). This will ask your password.
$ sudo nano /etc/hosts - Enter the following pair at the bottom of the file. Replace
remarkablewith any fancy name yo want (no spaces, just underscores and hypens)192.168.0.25 remarkable - Save and exit the editor.
Now you should be able to connect to your remarkable using a hostname:
$ ssh root@remarkable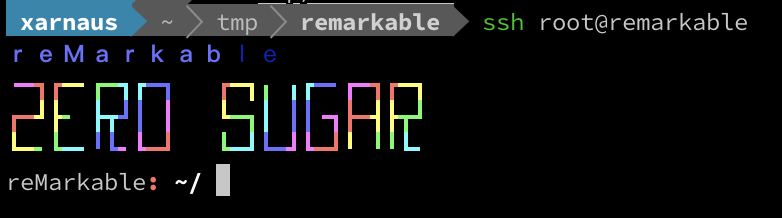
In the following sections I will assume that you have the SSH key and the hostname set up 😊
Retrieve the current templates
Yes, this step is not necessary, but helps to give you an idea of what is in your Remarkable 2.
The templates live in the following path: /usr/share/remarkable/templates.
- Create and move yourself to a path on your computer that will allocate the retrieved templates.
$ mkdir -p ~/tmp $ cd ~/tmp - Copy the templates from the Remarkable to your computer
$ scp -r root@remarkable:/usr/share/remarkable/templates .
At this point you should have the Remarkable templates and a configuration JSON file in your computer. It would be a good point to explore the files and to get familiar with them.
Create our own template for the Remarkable 2
First of all, some consideration regarding the Templates in the Remarkable 2
File types: PNG or PDF?
There are 2 main approaches:
- A template file that will be used as a background of your notebook pages
- A template file that will be used as the notebook itself.
For what you're used to work with in Remarkable, this is the first point and the focus of this article. They are image files that will be loaded as the background of your notebook's pages. For the second point, you can create a PDF file with pages and links between them, and use the functionality of Remarkable to actually write over the PDFs. This opens a new world of opportunities, as you can pack a year calendar with a page per month, week or day and everything properly linked between each other. This is what mostly all companies are selling to you when you search for year planners for Remarkable, here for example.
Width and Height
The size of a Remarkable 2 page is 1404x1872 in portrait mode (and of course 1872x1404 in landscape mode). Keep this in mind as the templates are for portrait or for landscape, not for both.
File Extensions: PNG or SVG
Once you retrieve the templates as we did above you discover that all current templates have 2 files. This is confusing, but you can actually add only a PNG file and it works. This is what we're going to do here, create a PNG file.
Create the template
That is the creative part of the article, so I leave it mostly to you. I will do a quick guide to it but please understand that the better you're with design, the more beautiful it will end up 😉
- Open GIMP and create a new file with the defined sizes (see above) and a white background. That is actually important: our template defines what we see below, and it can't be transparent.
- Draw your lines. You can make use of how many layers you want, just keep in mind that at the end of the work you want to combine them all or to export the result with the layers all combined.
- Export the file as PNG (somewhere you can relate to afterwards from the terminal, for example in your
~/tmpfolder
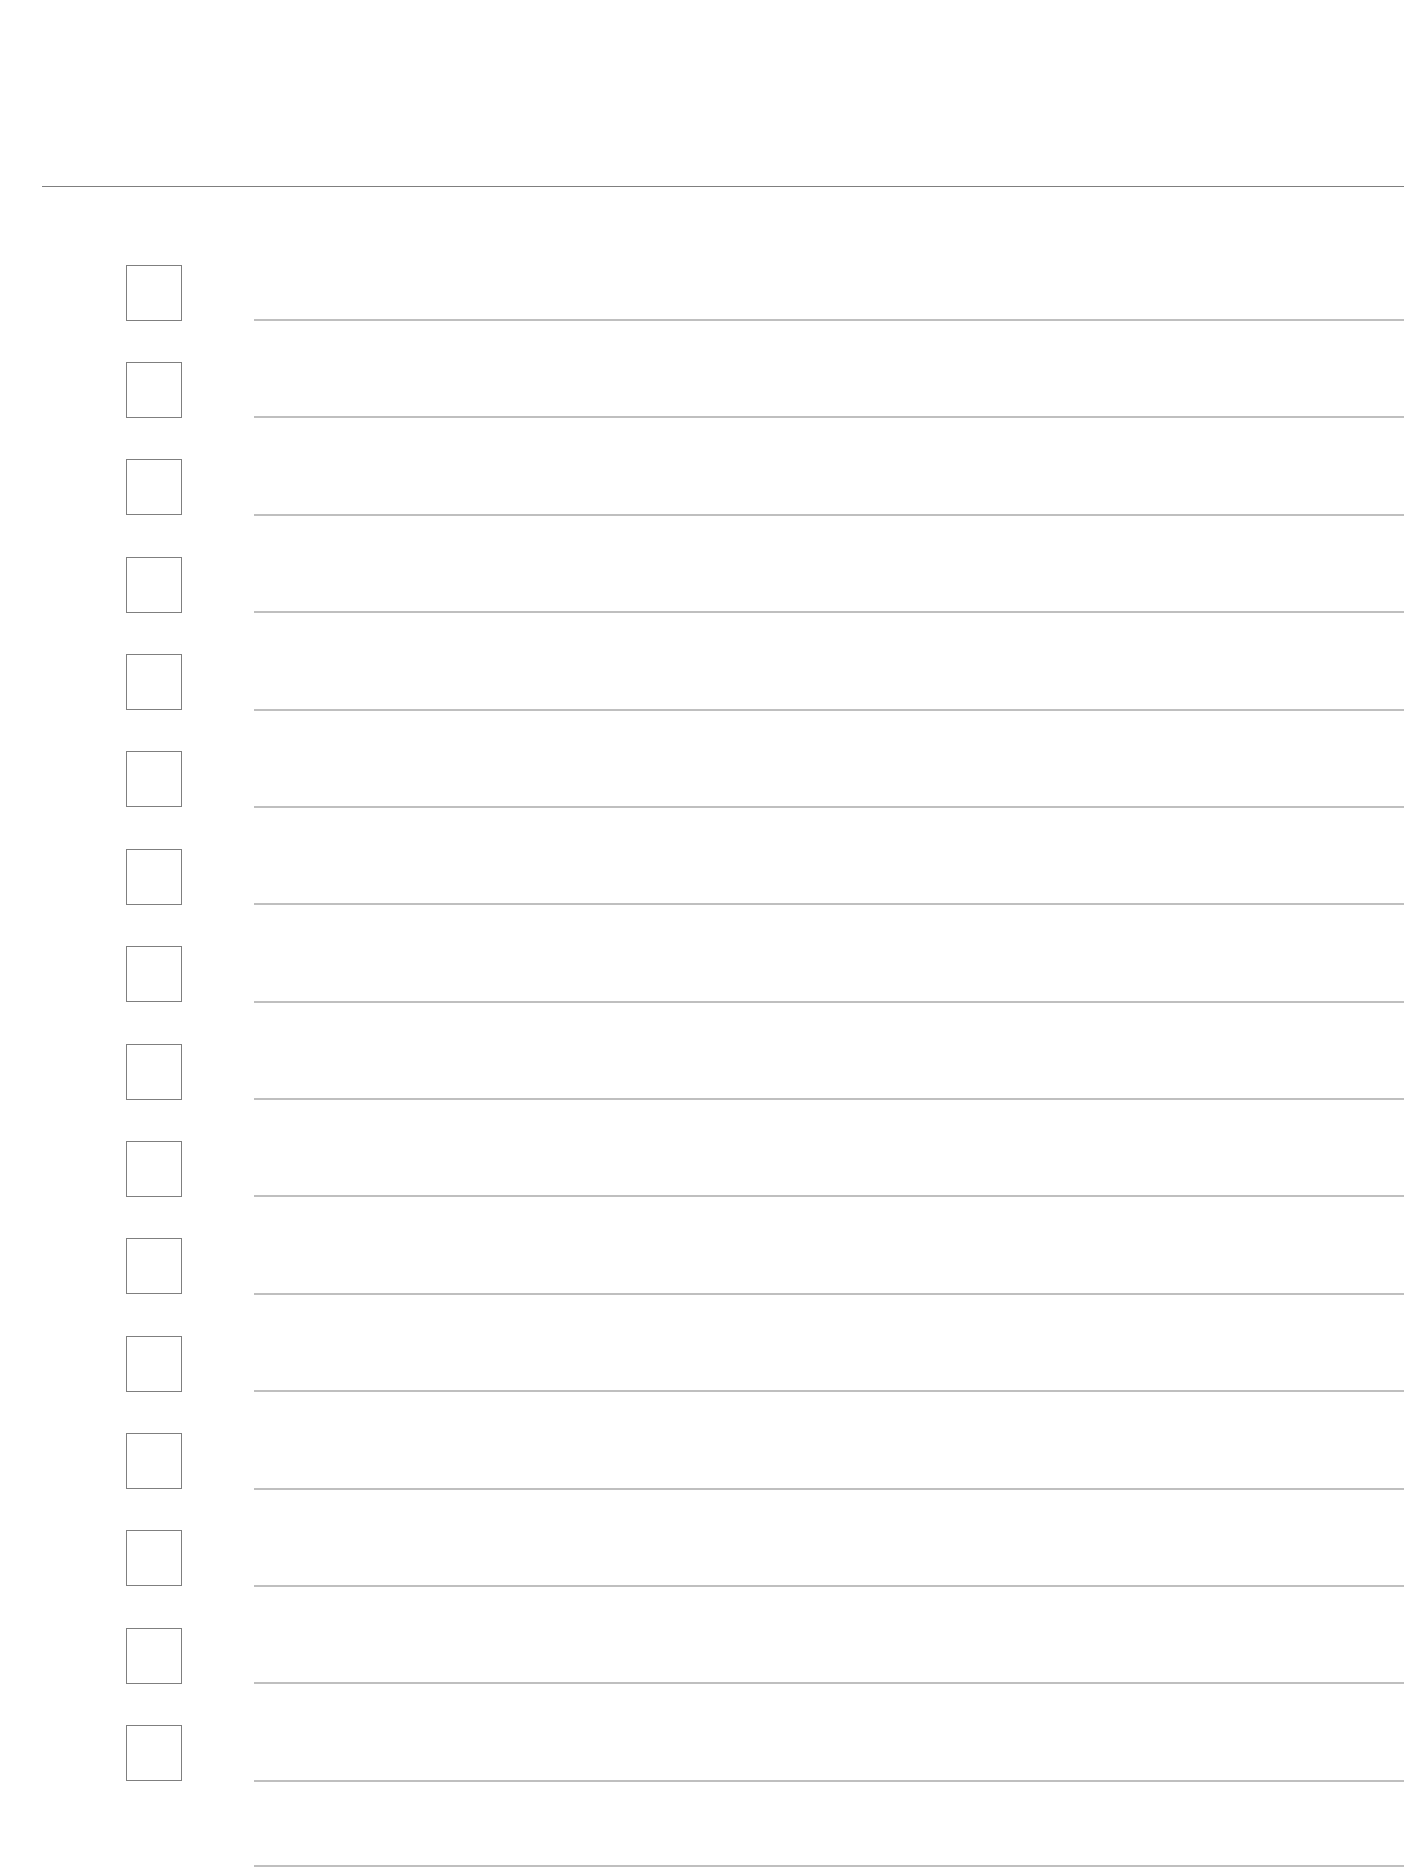
And that's it! At this point you should have a PNG file with a design you created. For the sake of the article, here is the checklist I did, by just moving all the template a bit to the right to avoid the overlap with the sidebar
Install your new template in your Remarkable 2
In this final step we want to copy our templates into the Remarkable 2. We have the SSH access, we have the path where they get stored and we have the file of the template. But before we do so, some considerations:
Separating your templates from the original ones
You can create a subfolder in the templates folder, so all your templates are well organized. In this article, I will have my templates in a subfolder xavi/, meaning that I am actually placing my templates at /usr/share/remarkable/templates/xavi. For that, I previously logged in and created that folder:
- Log in
$ ssh root@remarkable - Create a folder called
xavi$ mkdir /usr/share/remarkable/templates/xavi
The templates.json
This is the file that actually tells the Remarkable 2 which templates we have, where, for which categories and which orientation. This file must stay in the original template location and must be edited every time we want to add / remove a template file. You also have copied it to your computer in early stages of the article, so you can check what is in there for curiosity, but the file will be updated directly in your Remarkable 2 device.
Install the template
-
Copy the template file (let's say it is located in
~/tmpand calledmy_template.png) into the templates folder we want inside the Remarkable 2$ scp ~/tmp/my_template.png root@remarkable:/usr/share/remarkable/templates/xavi/my_template.png -
Log in into the Remarkable 2
$ ssh root@remarkable -
Edit the
templates.jsonfile to add the template therenano /usr/share/remarkable/templates/templates.json -
Go to the end of the file and add the following text block:
,{
  "name": "Checklist with Margin",
  "filename": "xavi/my_template",
  "iconCode": "\ue98f",
  "categories": [
    "Xavi",
    "Life/organize"
  ]
}
Let me explain:
name: The name that will appear for this templatefilename: The location of the file, from the position of the official templates folder. It's important to note that the filename does NOT contain the extensioniconCode: The icon that will be used for this template when showing it inside the Remarkable 2. You can get a list of them and what they represent here.categories: A list of categories that you want that this templates is included inside. Here I want it to appear in theLife/organizewhich comes already with the Remarkable 2, and inside a new one calledXavi. I did not do anything extra to register a new category, just set it here.landscape: This is optional for portrait modes but mandatory for landscape modes. If you are setting a landscape template you must add this parameter with valuetrue. Check other templates defined in the same file to catch the differences.
-
Restart the system so that the change take effect. This is done by:
$ systemctl restart xochitl
The Remarkable 2 will restart, and then you'll be able to see your new template listed and available to set in all notebooks.

Wrapping up
At this point now I can customize my Remarkable 2 with my own templates. That has been fun and it's quite easy. Still, internet is a nice place to find resources, so let me leave here some links:
- rM2 Template Helper and Custom Screens - A free Windows tool to manage templates and more! Looks quite interesting.
- RemarkableWiki: Templates - A page in Remarkable Wiki explaining this same process plus a bunch of links to templates pages.
- Online Template creator: Lets you create very simple but yet functional templates, and download them!
- bliekp remarkable templates in GitHub
- deo-so remarkable templates in GitHub
- Remarkable GTD templates in GitHub - Templates and planners creator
Salut!