In this Mastodon era, I wanted to try another approach to be used as a personal ActivityPub microblogging playground instance. After some research I decided to install an Akkoma into a Raspberry Pi 4. Quite straight forward installation!
Why would I want it?
To play around. Actually, my idea is to stop spreading my bots around, and have a Raspberry that runs them, and what better than an own instance to allocate them? At this point, what I'm thinking is a single-user instance that has some bots publishing some stats from my Raspberries, instances, processes and other bots, in a kind of alerting system approach.
To be honest, the motivation is the less important thing. I just want to play arround with any system that is not the Mastodon mainstream one.
What do I need
I will use my Raspberry Pi 4 4GB to host it, now that I moved the Nextcloud to the 8GB one. I have installed the official Raspberry OS 64 bits Lite version (no desktop). The steps are the same that I explained in my past article Quick DNS server in a Raspberry Pi, but making sure that we're selecting the 64 bits Lite version. What do I want to have setup in your Raspberry Pi?
- SSH access enabled (I will assume that the user is
xavier) - Static IP (I will assume that you have a local DNS. If not, just replace the host names with your Raspberry's IPs)
Preparing the system
Install Docker
-
ssh
corelliassh xavier@corellia -
Download and install Docker
curl -sSL https://get.docker.com | sh -
Add the current user into the
dockergroupsudo usermod -aG docker $USER -
Exit the session and ssh in again.
-
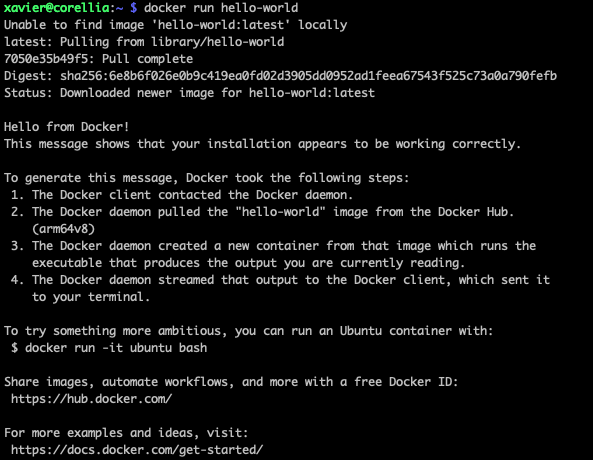
Test that it works:
docker run hello-world
-
Get the container ID of this test run. In my case is
9373dee4491cdocker ps -a
-
Remove the test container
docker rm 9373dee4491c
Install docker-compose
-
First of all, check what is the latest version by navigating to their releases: https://github.com/docker/compose/releases. At the moment of this article, the latest stable release was v2.16.0
-
Dowload the right binary from their releases into the binaries directory of our system:
sudo curl -L "https://github.com/docker/compose/releases/download/v2.16.0/docker-compose-$(uname -s)-$(uname -m)" -o /usr/local/bin/docker-compose -
Give executable permissions to the downloaded file
sudo chmod +x /usr/local/bin/docker-compose -
Test the installation:
docker-compose --versionIt should print something like
Docker Compose version v2.16.0
Clone the Akkoma repository
Assuming we're in corellia and in our home path:
-
Clone the repository:
git clone https://akkoma.dev/AkkomaGang/akkoma.git -b stable -
Move into the akkoma directory
cd akkoma
Setting up the stack
1. Define the environment variables file
-
Get the example environment variables file and copy it into our definitive file
cp docker-resources/env.example .env -
Add the current user and current user's grou into the environment variables file:
echo "DOCKER_USER=$(id -u):$(id -g)" >> .env -
We can see how it ended up:
cat .env
2. Build the container
Generate the akkoma container:
./docker-resources/build.sh3. Generate the instance
-
Create the folder that will contain the data
mkdir pgdata -
Retrieve the dependencies. It may ask to install some dependencies. Just do it.
./docker-resources/manage.sh mix deps.get -
Compile all together, generating the pleroma app. It may ask again to install some other dependencies. It will also take quite a long time.
./docker-resources/manage.sh mix compile -
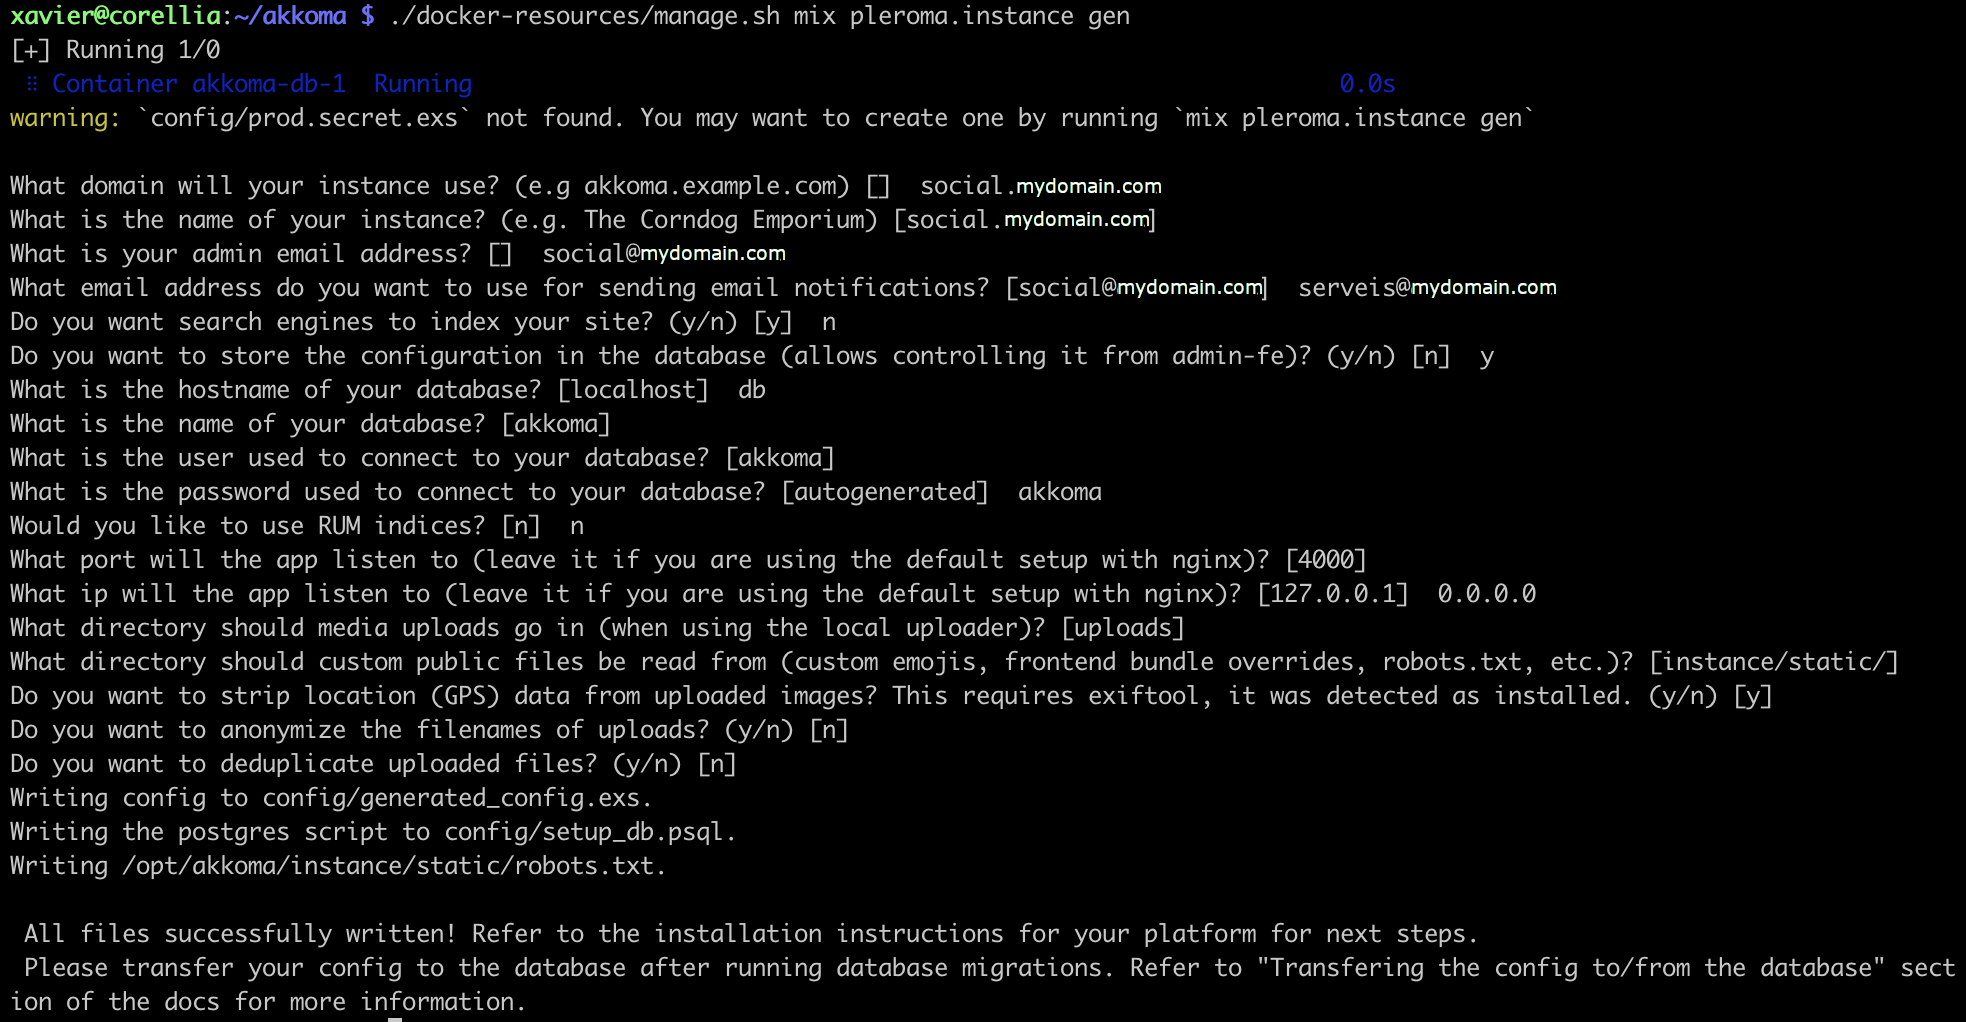
Generate the configuration. It asks some questions that the default values should suffice. According to the official documentation, the database hostname is
db, the database password isakkoma(not auto generated), and set the ip to 0.0.0.0../docker-resources/manage.sh mix pleroma.instance gen
-
Copy the configuration to the expected location
cp config/generated_config.exs config/prod.secret.exs
4. Prepare the database
-
Start the DB container.
docker-compose run --rm --user akkoma -d db -
Run the Postgress setup script:
docker-compose run --rm akkoma psql -h db -U akkoma -f config/setup_db.psqlAccording to the official documentation, here we should receive the name of the container here, something like
akkoma_db_run, but instead I received some warnings telling me that the role "akkoma" already exists and the database "akkoma" too. -
Get to know the containers that are running in this moment:
docker psThis gave me 2 containers, and one was named like
akkoma_db_run_ac56fc75fa55, which I guess is what the official documentation was expecting. The other one is calledakkoma-db-1and feels like it started together with the instance setup, because it is running for 30 minutes already. I take the first name I mentioned for the next step. -
Stop the container that we opened to run the Postgress setup script:
docker stop akkoma_db_run_ac56fc75fa55 -
Run the migrations. It will take some time, because it also compiles the files as the configuration changed.
./docker-resources/manage.sh mix ecto.migrateIt took some time to compile and when actually applying the migrations, the DB disconnected leaving the process with a beautiful red error. I re-tried the same command again and performed the migration. At the very end showed that one query failed. I re-ran again the migration and it just jumped everything to simply show the same error in the migration (in particular, it complained about the migration
20191220174645 Pleroma.Repo.Migrations.AddScopesToPleromaFEOAuthRecords.up/0). I could fix the issue with the following command:./docker-resources/manage.sh mix ecto.resetThat asked me to drop the database (I said yes), then it created the DB again and applied all the migrations without problems. Yay!
5. Start the server
-
Start the server in the foreground so that we can see that everything is working:
docker-compose up
-
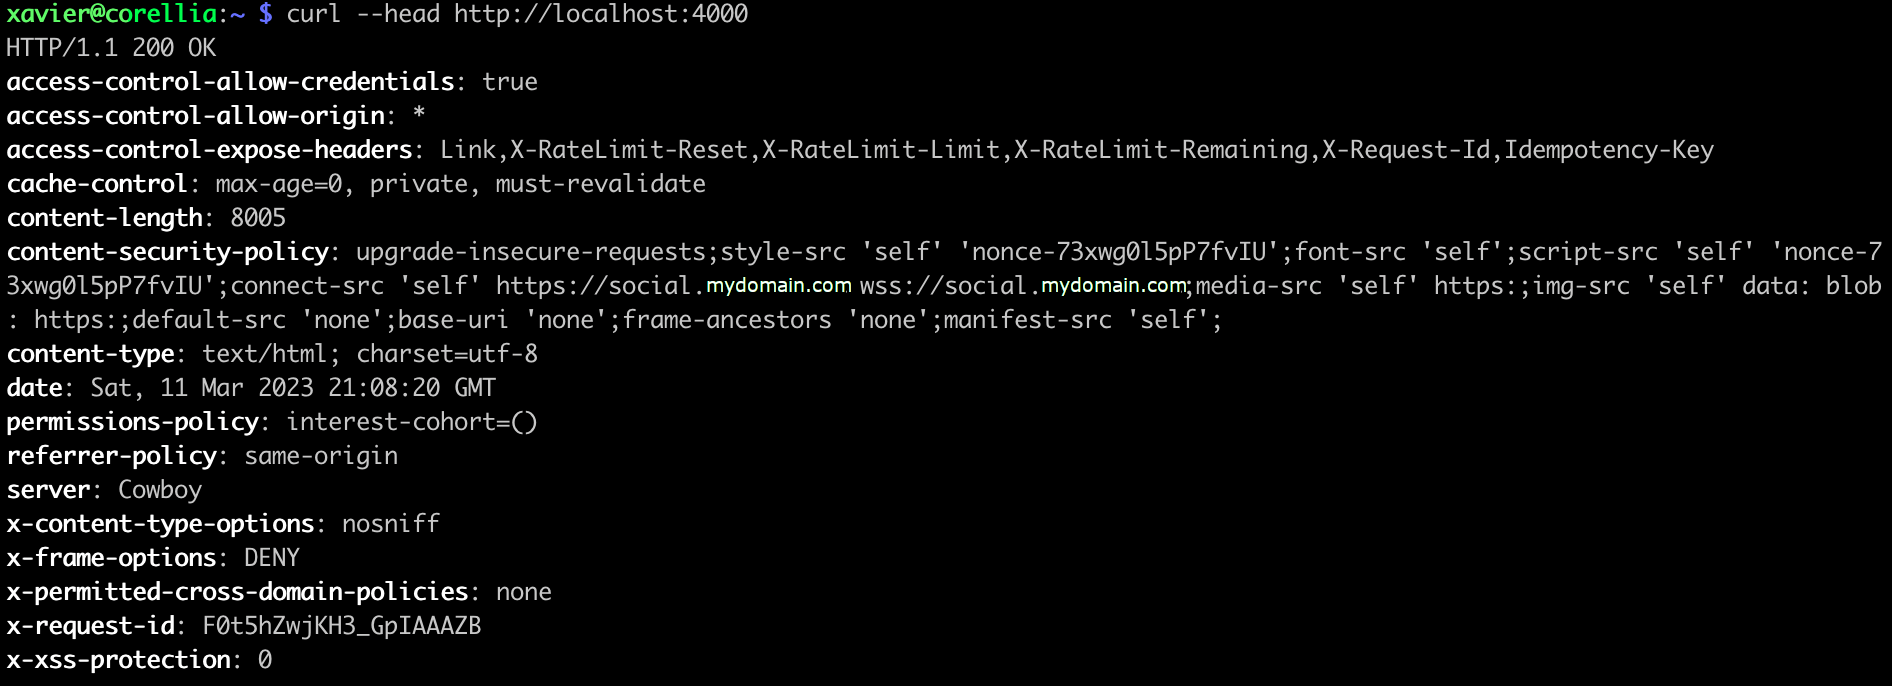
The official docs mention that we should be able to navigate to http://localhost:4000, but we're in a headless Debian 11, so open another ssh to
corelliaand when the shell is active, try tocurlthe localhost in the port 4000. It should give a HTTP 200 OK It works!
 -
Now shutdown the instance in the foreground run with
ctrl+C -
Start the instance in the background:
docker-compose up -d
6. Create the first user
- Create a user with administrative rights. Replace with a proper username and a mail:
./docker-resources/manage.sh mix pleroma.user new xavi xavi@mydomain.com --adminIt prints a summary of the data that will generate for this user and after confirmation it will create it. Also, it will output a link to change the password. Keep it, as we'll need to use it when we have the SSL fixed.
7. Set up the SSL in our separated reverse proxy
At this point every configuration will differ. In my case I don't want to install yet another reverse proxy, so I'm going to reuse the reverse proxy that I installed some days ago in a separated Raspberry Pi. To do so:
-
SSH into
dagobahssh xavier@dagobah -
Edit the file that holds the Virtual Hosts configuration
sudo nano /etc/apache2/sites-available/010-reverse-proxy.conf -
Add a new Virtual Host for the Akkoma:
<VirtualHost *:80> ServerName socia.mydomain.com ProxyPreserveHost On ProxyPass / http://corellia:4000/ nocanon ProxyPassReverse / http://corellia:4000/ ProxyRequests Off </VirtualHost> -
Stop the reverse proxy. The certbot needs full control to the HTTP & HTTPS ports
sudo service apache2 stop -
Execute the certbot for this new domain:
sudo certbot --agree-tos -d social.mydomain.com --apache -
Start the apache again
sudo service apache2 start
8. Install a frontend
Once the backend is up and running, we should install a frontend so that we can nicely interact. No, it does not come bundled, and I actually wonder why, I'll check. The installation is kinda trivial:
-
Install the pleroma frontend:
./docker-resources/manage.sh mix pleroma.frontend install pleroma-fe --ref stable -
Install the admin frontend:
./docker-resources/manage.sh mix pleroma.frontend install admin-fe --ref stable
At this point, I was expecting to be able to navigate to http://social.mydomain.com, and it actually receives the requests, redirects to HTTPS (thanx to the changes done by the certbot) but then it throws a 503.
9. Fix the reverse proxy living in an external host
After some digging, I saw that the Akkoma's docker-compose.yml still keeps listening only to 127.0.0.1, so only the localhost can forward traffic to it. Let's change it:
-
SSH to
corelliassh xavier@corellia -
Move yourself to the akkoma stack
cd ~/akkoma -
Edit the docker-compose file
nano docker-compose.yml -
Search for the
portssection, and replace the127.0.0.1:4000:4000with0.0.0.0:4000:4000. We want that the container redirects all requests to the port 4000 to inside, not only the ones that come from localhost. -
Recreate the container:
docker-compose up -d
Now we should be ready to navigate to http://social.mydomain.com and see the Akkoma interface appearing!
Some random configurations
Oh yeah, I have no clue of what I'm doing. What I have clear is the goal of this server, at least at this point in time:
- This is a single user instance. It is supposed to be a private place with some monitoring bots, quite a development space. I don't even intend to make my social life from here, I already have other accounts elsewhere for this.
- Therefor, I'd like to start small, quite private, open to the world but not widely federating, and see what do I open later on
- It is running in a Raspberry without an external disk, so we need to keep the resources and disk use to a quite minimum. I am worried about avatars and headers overwhelming the disk quota.
Admin settings
Very first thing, not even trying anything else, just in case I regret about forgetting anything.
Instance settings
Instance-related settings
All by default, then:
- Registration open: Disabled.
- Account approval required: Enabled, just to be in control
- Federating: Enabled. This is no change, but I just want to mention it, as I want to test how it works.
- Fed. incoming replies max depth: 1 (was 100). I want to avoid going deep in threads to get a tree-like federation.
- Allow relay: Disabled. This is no change.
- Public: Disabled. Only authenticated users should see the public resources.
- Healthcheck: Disabled. This is no change.
Restrict Unauthenticated
Everything is Disabled. No changes.
Mailer
- Mailer Enabled: Enabled
- Adapter: SMTP. Filling the rest of parameters.
MRF
General MRF settings
- Policies: I added SimplePolicy as per this post, so I can then easily block instances.
Uploads
Pleroma.Uploaders.Local
I guess this is where I should come back later to set up an external disk setup, whenever I have one.

